Total Pageviews

Sunday, 22 December 2013

Sean & Lisa's Early Bay(low light) Restoration works.

I was approached by Sean in late summer to undertake the metal work side of the restoration works on his Bus prior to The Paint Shop pros undertaking the painting side of the works, Unfortunately the bus had been in with another local VW restoration business and should have taken three months to be completed, seven months in and she was actually in a sorry state of repair, less than 1/3 of the planned works had been completed and this was of a very poor standard and despite the cost had to be redone due to the extremely poor standard.

It finally arrived in the Oil Droppers work shop on the 18th October, my self and Sean made an initial assessment of the works required and works already done, it was agreed that a meeting with Gavin of the Paint shop was required, the decision was made that the works done around the front of the van had to be re-done along with some additional unplanned works these being the inner front valance & some repair works to the chassis, inner sill & middle sill , the other planned works the inner and outer at the bottom of the sliding door outer sill, rear quarter, rear corner, battery tray three window frame repairs.

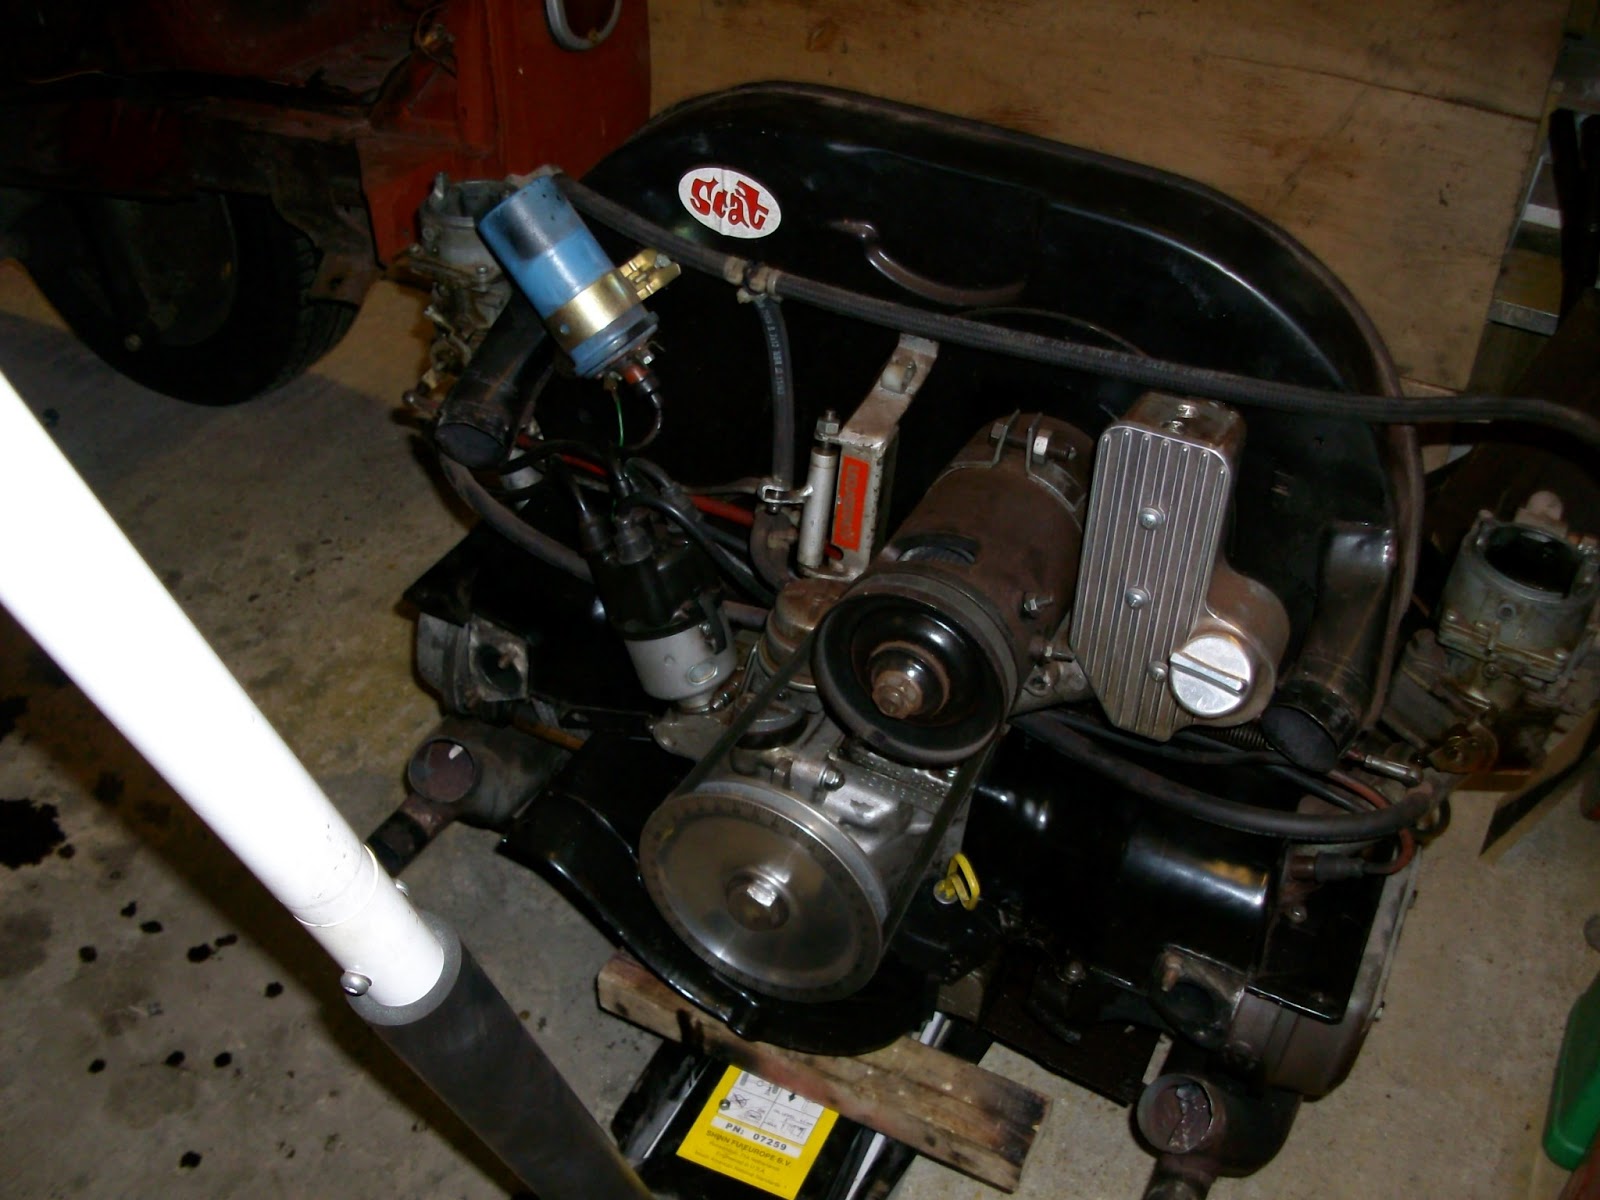
The following Photos show how she looked when she arrived and the works as they progressed through the  restoration.

From here the Photos indicate the quality of work that had been done prior to itsarrival with Oil Droppers, if you want to see more lookus up on Face book there plenty more on there to browse through, truly shocking.


Note how out of shape thr contours are on the valance, as this has now been filled one can only asssume there was going to be another Inch of filler to build it up.


And this is the company who say they dont like to use a lot of filler HHMM i will let you decide.

 From this point we start to finish what had been hacked at, and make the previous works back to how they should have been.


Here we have welded in place the inner sill Middle sill, Outer sill and the rear 1/4.


No over lap this was but welded.


C post as it arrived.

C Post after we had rebuilt it.

Closing Panel welded in place.

Rear corner section welded in place.

Battery tray and corner panel from inside.

Under side of battery tray.

All welded up and ready for some minor finishing before it goes.

Repair to the bottom of the sliding Door.

Welded up and back on the Van.

Inner front valance in Place, We had undertaken some pretty serious chassis repairs prior to this, Again check out the face book page it all on there.

The front valance put on by the other restorer was so bad and out of shape we had to be redone.

New front valance in place and done note the correct contour lines unlike the previous photos earlier.on this post.

Passengers side floor section in place.

Drivers floor panel in place.

Inner front windscreen panel was very corroded this we found under the new panels put in by the previous so called restoration company.

We removed the top section completely.

And replaced with new metal, prior to the new front panel and screen surround being replaced.

This was the final fit before welding.

Fully welded in place.

Front repair panel one of many trial fittings.

Front repair panel fully welded in place.

Please pay particular notice there is no filler at all at this point just polished weld.

Nice proper shape unlike when she arrived.

One light skim of filler prior to a coat of primer to protect it until she is painted.

Like wise the front, again please note how little filler there is used, the centre section was filled prior to her arrival with Oil Droppers.


We at Oil Droppers are a new small enterprise, we have a lot of room to grow we take serious pride in the services and works we provide, we undertake the tasks given us with diligence and customer satisfaction as the fore front of our business, We ensure we post regular updates of the works on our face book page enabling customers to track progress, and prove we hide nothing from anyone and cut No corners, if you like what you see check out the other posts on this site and click like on the Oil droppers Face book page and follow what we do. be a part of making us grow so we cam look after your pride and Joy.

Saturday, 31 August 2013

Ashley Hollins, Beetle Body Repairs

Ashley's bug came to me for the obligatory bit of welding, Ashley new of my capability and works Ashley was the second of the two whom battled it out in the last few minutes of the auction on eBay for my Pride and joy my yellow 67 Bug, So hence he ended up buying this one that as per the norm has it own fair shair of problems.

That's the bit where i came back in he needed work done and it wanted to be good work at a competative price, That is what i do best and i deliver what the owner wants not what i believe they should do!

After i finished the 1971 Bay Turbo build Ashley's bug was next in, it was in for replacement front and rear Apron's, Inner front wheel arches and a panel in the drivers side floor pan under the seat.

Overall Ashley's bug is a pretty solid Beetle and now a little more now she been with me.

New rear apron fitted & welded in place.


New front apron trial fit.

Front apron welded in place.

I had to repair the spare wheel well as it had a little rot.

Right front inner wheel arch mocked up prior to welding.

Job done, fully welded in nice and solid.

This is the section of floor the rot had appeared round the seat mount, cut this out and put in a new piece of steel.

Seat mount back in place.

Ready to go back home.


Tuesday, 27 August 2013

Early Bay/Type 2 Turbo Start up.

Not much to say on this one except, we came , we conquered, yes people it lives it breaths the doubters you were all wrong, you still are wrong as to date it still runs fine and aint gone bang.

The two videos below are the first initial fire up and the second is the second run up after it had a few tweeks. Personally i like the second video as you can if you listen with the volume up a bit here the turbo spool and whine on its way down it was a very good day, with a little relief i can tell you.

I would like to say thanks to the people who believed i could do it and offered moral support when i hit the stressy bits it wasnt easy to do from scratch on your own, those people whom are many i know, but Dave C, Claude B, all they guys from Outcast vw and all the people who commented on my facebook page appreciated.

But most of all my wife Julie for putting up with me and my love for VW'S, a challenge and agreeing to the cost cos it wasnt cheep you indeed are a star.


Type 2 Turbo update.

Well all be it a little late as most people that read my updates have probably seen it and heard it, so what in this will be nothing new or shout about, But as i meander through life wondering what to do with my self it came upon me that others do actually venture on this site i created some years ago now, these people may just want to know what the final outcome of this project actually resulted in, by this i mean did it actually work or did it just Go bang as some had predicted!!

Fortunately for me and my wallet let alone my life it run, still does some months down the road, Good job really.

So last Blog entry i believe the set up was all be it crudely put together complete on Claude's engine stand and so the story continues, at least you get the ending this time and it was not the Butler?

The oil pipes fitted and the remote filter moved and mounted on a home made bracket.

Oil feed line installed for the Turbo Oil feed.

Heat rap put on the manifold, offer of good advice never do this with out gloves, and never ask you wife to lend a hand with out gloves either, god made me itch, but my wife's some what more delicate hands and arms suffered far more.

Manifold Turbo & waste gate finally bolted in place for the final time.

Put this one in as it looks so cool!

Pipe work done and ready to put in place.

Waste gate pressure pipe in place.

Oil feed in place and the exhaust bolted in place.

Induction Pipes all in Place and clamped up, and dump valve installed.

Another shot of the dump valve in situ.


Finally assembled in its finished state.

Oh yes don't laugh, Exhaust yes that's it, i know some of you have seen it with the silencer added, but i have again removed this and its back to Loud Luv it.

Looks tidy and fits just how i wanted it too it great to prove these things can be done, and that the ones whom believe they know best really you don't?


And that as they say is that, all ready for the initial fire up at the time.


I am, aware that i said i would start it on the trolley but i am an impatient git on a normal day, when i am gagging to test several months of planning and work it just had to go in!


Monday, 3 June 2013

Turbo Charged Early bay, Part 3 and Counting.

Well the long hall of the home grown turbo charged bay continues, in my last post I had started to fabricate the pipe work to go from the turbo to the carb's, yep im going for the blow through option, may choose to change this at a later date but for now this was I believe the easier option & cheaper, that's me all over as im regularly called a cheap skate!
I have now actually pulled the motor from the van in order to find that bloody oil leak that you all complain about?
So I've pulled the motor, identified where the oil was leaking from, collected Claude's home grown engine trolley modified it to take a Bay motor and finished the pipe work.
I have also started to, but not yet finished the remote oil cooler, I've had it for years never got round to doing it.
Pictures below as usual to show my efforts.

This Entry was sponsored by Sainsbury's, Keep reading you will see Why LOL.


Tin ware now completed and fixes back together nicely allowing easy
removal of the rear valance with out removing the whole set up.


The section with exhaust exit pipe going through will remain in place
when the rear apron/valance, call it what you will is removed.


Oil cooler brackets made up.


Oil cooler in place and bolted down, just need to get the mandrel
 cutters out and make the holes for the pipes to come through.


oil cooler brackets bolted in.


Engine out that's been in a long time now since it was fully re-built
some one asked before what size barrels etc. this had being a 1679cc they are 88mm.


Top taken off to find that pesky leak, Generator tower, should have known.


Claude's engine stand, If Sainsbury's made engine trolleys they would probably look like this
 top end mocked up so I could finish the pipe work, note the sectioned curves on the carbs these
 I have made to suit my needs bloody pain staking process
but required to fit in as I want.


A close up to show this was made up of six sections of pipe all cut by hand,
I must be bloody Mad.


And the other side . there not identical either.
One side welded up and added to the first pipe I done that would be the
easier one, and if you look just to you right you will see that one and you
will also work out im a bad liar.
Trial fit before I go any further try once check and check again if I have said that before sorry
 but I have got it wrong so many times before and I have learnt the hard & costly way.


The other side welded up and another trial fit, each weld is done in several
sections to keep the heat down as I have found even after many such projects
that even pipe of this size can distort through heat, In all each of these curves has
actually taken several hours work.

The induction pipe now in its completed State, ready to be refitted for
 hopefully the final time, we shall see.

There we go another mile stone in my on going efforts to further
my on going passion, with Vw's and my Dream of going it alone and
running my own little workshop.

The next step for me is to install the oil feed line & the Oil drain off, complete the cooler pipes, put the heat Rapp on the exhaust, install the pressure pipe and boost gauge, re-assemble the top end then test the motor on Claude's Trolley, that's going to be scary!
All in all im getting there bit by bit, the actual day this gets run up for the first time im going to video it and put it on here so keep watching its going to be interesting?
 
 
And as a last statement and in the words of Americas most famous leader,
 
THATS ALL FOLK'S & DONT FORGET TOO TUNE IN NEXT TIME.