A few months ago Oil Droppers contact Information was passed on by The Paint Shop Pros to a local guy who needed a Resto business that was competent to remove a badly installed front clip from his recently acquired 1972 Cross over Twin Slider and re-fix it correctly, the previous attempt had left it with a windscreen opening 20mm to large in height, The cab area also had no floor, no wheel arches & the inner wheel arches had been cut about as well, Once the van was in the work shop it became apparent that the whole front was out of shape including the inner valance this had also been installed badly and was incorrect and had to be removed, this then revealed the poorly repaired chassis ends adjacent to the Inner valance, Yep the can of worms got bigger.
The following Pictures show the process from arrival to the eventual completion of the front end, we also under took the repairs to the front doors and one sliding Door.
 |
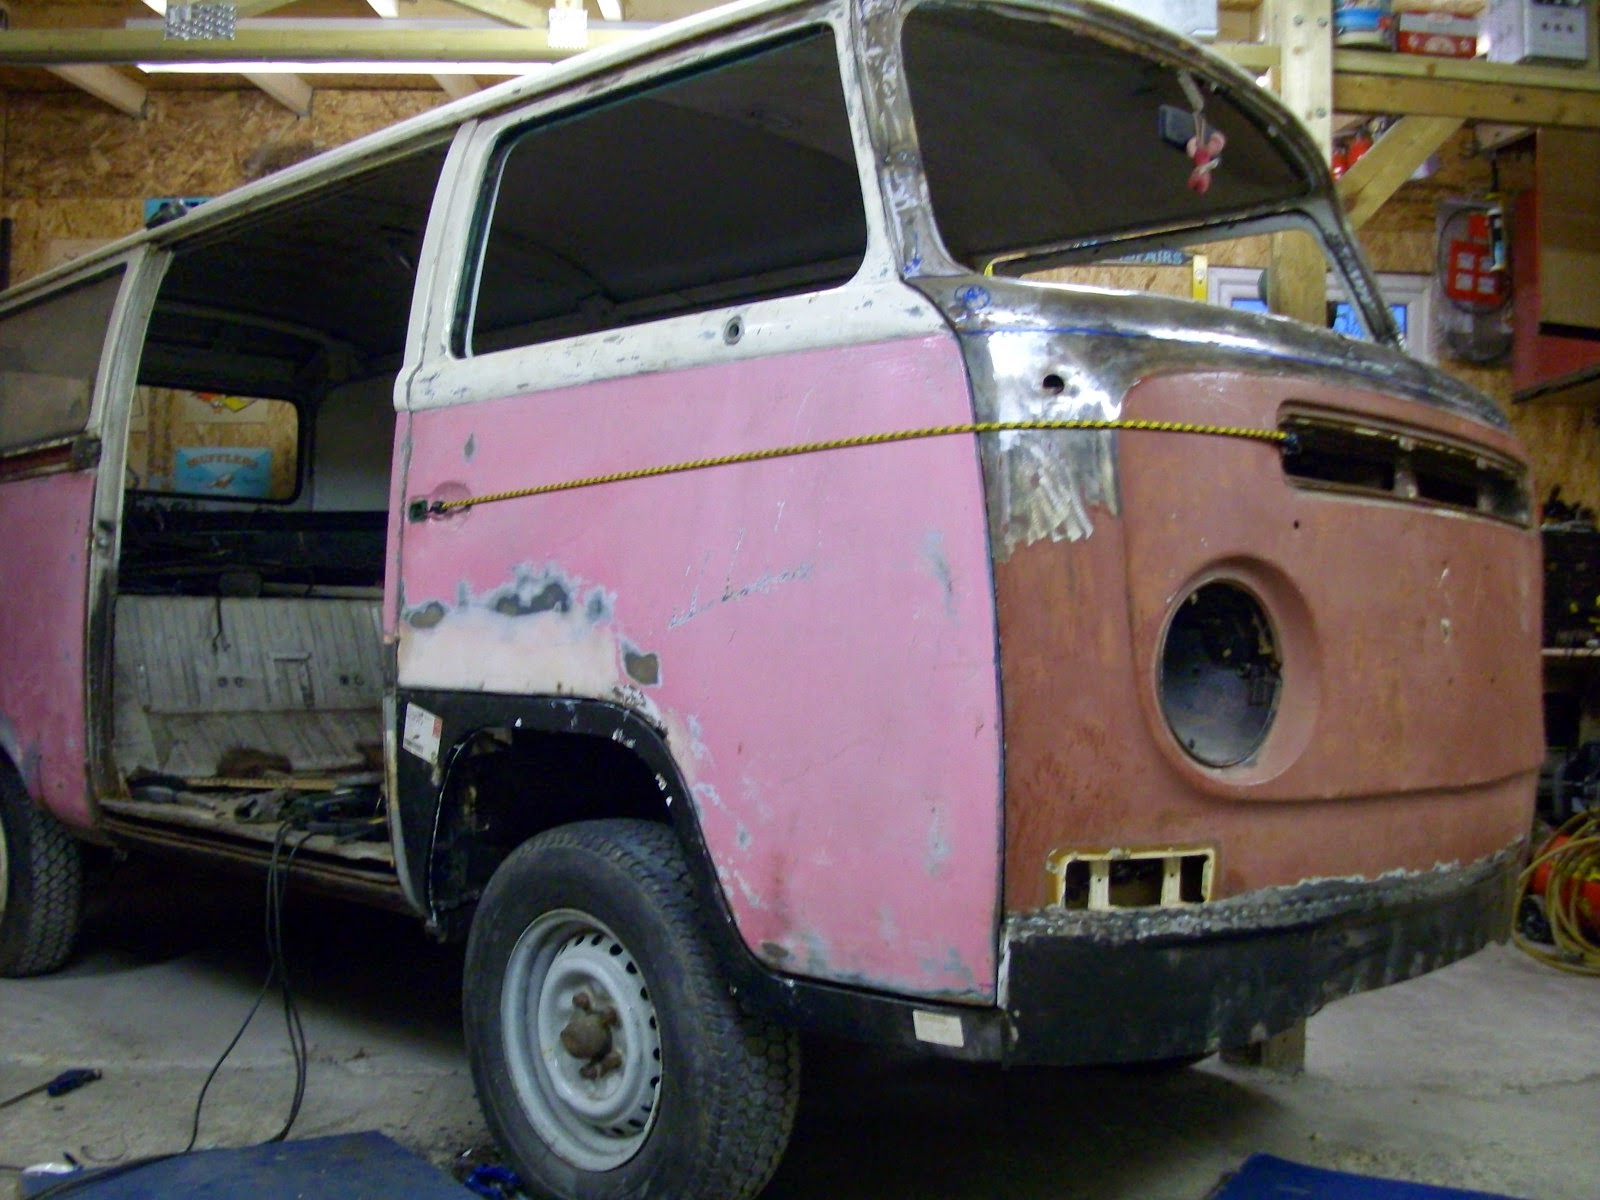
| The collection. |
 |
| Not very pretty, |
 |
| A lot of cutting already done had taken its tole on the shape of the front, |
 |
| So off it came, The can of worms was officially opened. |
 |
| The inner valance as it was in the photo was welded in place out of true! |
 |
| Quality of the previous welding. |
 |
| Drivers side didn't even mate up with the chassis. |
 |
| These repair plates I pulled of with my hands! |
 |
| Inner valance was badly misshapen. |
 |
| Levelling the van up to ensure the front was put back true. |
 |
| Starting to correctly replace the inner valance. |
 |
| Mocking up the floor and upper inner panel. |
 |
| A little more adjustment. |
 |
| checking the valance for true against the chassis. |
 |
| Bang on, the inner valance was tack welded in place and the floor and upright panel mocked up with Cleco Pins to ensure no movement was possible. |
 |
| The Cleco pins in Place. |
 |
| Fitting the inner wheel arch repair Panels, again Cleco's hold them fast. |
 |
| The front in place, ratchet strap was used to pull the A post in as they had spread due to the removal of the upright panel, this was removed by the previous repairer. |
 |
| Back on, now the fun Starts, doors need to Fit? |
 |
| First fit of Many. |
 |
| Gaps to big due to flex in the inner wheel arches as a result of so much cut out. |
 |
| Doors fitting front top and rear. |
 |
| Repairing the A Posts. |
 |
| Floor and front clip welded together a mile stone, a lot of hrs had been put in to this point. |
 |
| Lower front valance being fitted. |
 |
| A brace we put in to ensure the correct measurement was kept. |
 |
| Welded up, |
 |
| Next step mock fitting the wheel arches, these were the very poor quality supplied by the owner who unfortunately got them with the Van. |
 |
| Driver side done, Again after a few on and offs and a few Hrs. |
 |
| All being considered it fits well. |
 |
| Passengers side was actually so rotten we opted for a whole inner wheel arch panel. |
 |
| We didn't weld this inplace until the wheel arch was fitted and adjusted to fit. |
 |
| Cleco pins are a Must for this kind of work. |
 |
| Door closing with acceptable tolerances round the door. |
 |
| The front clip was a left hooker so we had to make a new bracket for the steering column. |
 |
| Column in place. |
 |
Job done, back to the owner, we kept the doors as Graeme wanted these repaired.
|


No comments:
Post a Comment